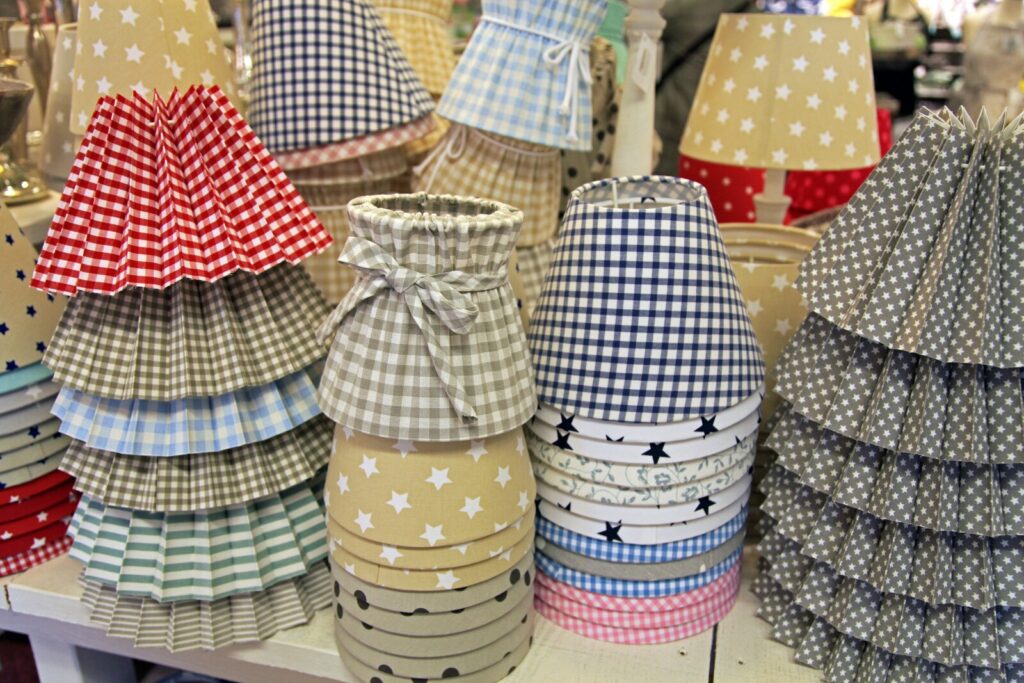
You can buy a lamp shade in just about any color, pattern, and size. But what if you want something you can’t find in stores? Something unique? This is where DIY comes in. With a few steps and some easy-to-find supplies, you can make your own custom lamp shade that is sure to envy all who gaze upon it!
Determine what size lamp shade you need.
Before you start decorating, it’s essential to determine exactly what size lamp shade you need. The size of a lamp shade determines how much light is allowed through the glass, so if you have a small space and want lots of light, go for a larger size. But if your room is already well-lit and doesn’t require much additional light, smaller shades will be more suitable.
Measure the diameter of your lamp:
- Measure from edge to edge at its widest point (or “span”). By measuring the circumference of your bulb, you will know how many inches there are around the top and bottom diameters-and thus how much fabric you should cut out before sewing them together (which we will discuss shortly).
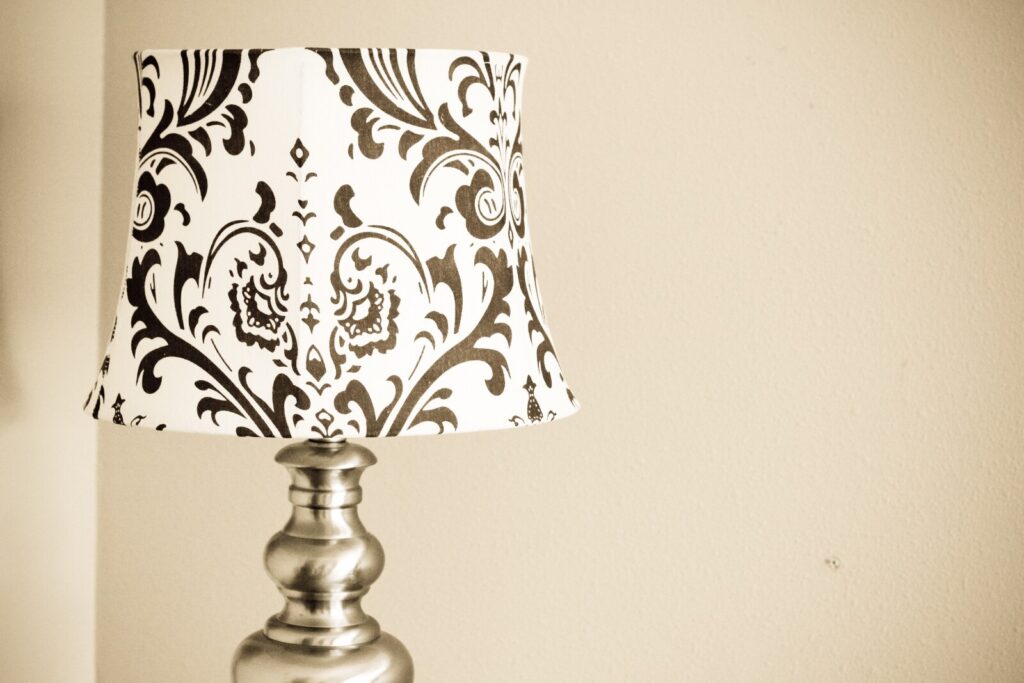
Choose a lampshade that suits the lamp style.
You should always choose a lampshade that suits the style of your lamp. If you’re looking for something on-trend, a drum shade is a good choice. Drum shades have been popular recently and come in many different styles and colors to fit any decorating scheme.
Make sure you have a sturdy surface to work on.
First, make sure you have a sturdy surface to work on. You’ll want a clean, dry, and flat surface big enough for your lamp shade. This is because it’s essential to keep your lamp shade in one place while working on it, so it doesn’t tip over and break or get damaged.
An excellent place to work on your lamp shades would be any table or desk with plenty of room for the shade when it’s lying down flat (like an end table). It should also be large enough so you can work without having to bend over or crouch down too much while trying your best not to drop any glue onto your carpeting. Of course, if this isn’t possible, then don’t worry! You’ll need extra care since there won’t be much space between the lampshade when we put everything together later in this tutorial series!
Finally, another thing I always do before starting any project involves looking at what kind of temperature may affect how well each different material holds up against heat/cold temperatures; especially since these lamps will eventually live inside our homes where we spend all day long during winter months–or even hotter summer days depending upon where exactly you live within North America 🙂
Gather your supplies and tools.
You will need:
- A lampshade (the one you want to decorate)
- Wooden beads and dowel rods or other embellishments of your choice. You can also use wood glue and paint or stain the beads if you prefer a more permanent look.
- Glue—Elmer’s glue is best because it dries clear, but any school-grade white glue should work well too. If you’re using hot glue, go ahead and get out your glue gun instead! It’s fast but doesn’t give as much control over placement as Elmer’s does since it might melt/bond before you’re ready for it to do so to set with the time needed allowing any unwanted bumps, etcetera onto the surface, which could potentially come off later when they’re done drying out properly; so be careful not to apply too much heat at once! These types are very popular among crafters today because they tend not only to make things easy for us all but also save money since most people already own one anyway in their kitchens where using such products would otherwise require purchasing another just for this purpose alone 😉
Paint or stain the wooden beads.
- Make sure the paint is wood-safe.
- Use a paint that is appropriate for the lampshade you are decorating.
- Use paint that is appropriate for the lamp you are decorating.
- Use a paint that is appropriate for the lampshade.
Drill holes into the beads.
Now, you’ll need to drill holes into the beads. You will need a drill bit the same size as your dowel rod, and you should drill holes at least 1/2″ apart. Make sure to drill them in the center of each bead so they will fit onto your rod later.
Once you have drilled all of your beads, you can start putting them onto your lamp shade frame!
Paint, stain or embellish the dowel rods.
Once you have finished painting and/or staining your dowel rods, it’s time to decorate them. You can do this by using paintbrushes or any other type of paint or stain. If you want to make the rods look unique, try using a color contrasting with the lamp shade. Or, if you want to use the same color as used on the lampshade, use different shades for an exciting contrast.
In addition, you may want to add beads or other embellishments to make these more appealing. They can either be glued on or sewed on with thread*. You may also want to use stencils and spray paint, but make sure not to overdo it since too much decoration will ruin its look.
Lastly, if all else fails, try heating the beads with a heat gun until they melt together like melted chocolate chips (this method works best with tiny glass beads). This effect makes them look beautiful and gives some structure because they’ll be connected together after they cool down again!
Glue each rod to the top and bottom of the shade and allow the glue to dry completely.
Glue each rod to the top and bottom of the shade and allow the glue to dry completely. If you’re using a hot glue gun (and there’s really no reason not to), this will take about 10 minutes.
Once your rods are in place, use a dab of glue to secure your bead-covered dowel rod at each end of the lampshade.

Thread a bead onto each rod and secure with a dab of glue.
- Thread a bead onto each rod and secure with a dab of glue.
- Allow the glue to completely dry before continuing.
You can make just about any lamp shade unique if you are willing to put your time and effort into it!
You can make just about any lamp shade unique if you are willing to put your time and effort into it! You should decide what kind of look you are going for first. Are you looking for a vintage, rustic style? Or perhaps a more modern look? Once you have figured out what type of theme or style you want your lampshade’s design to be, start thinking about how it will be decorated. You could paint the lampshade with acrylic paints or spray-paint it in bold colors. Beads or other decorations can also be added to the lampshades using fabric adhesive and glue.
Conclusion
If you have any questions or comments, please leave them in the comments section below. We’d love to hear from you! For more tips, visit our Lighting Blog and discount section.


