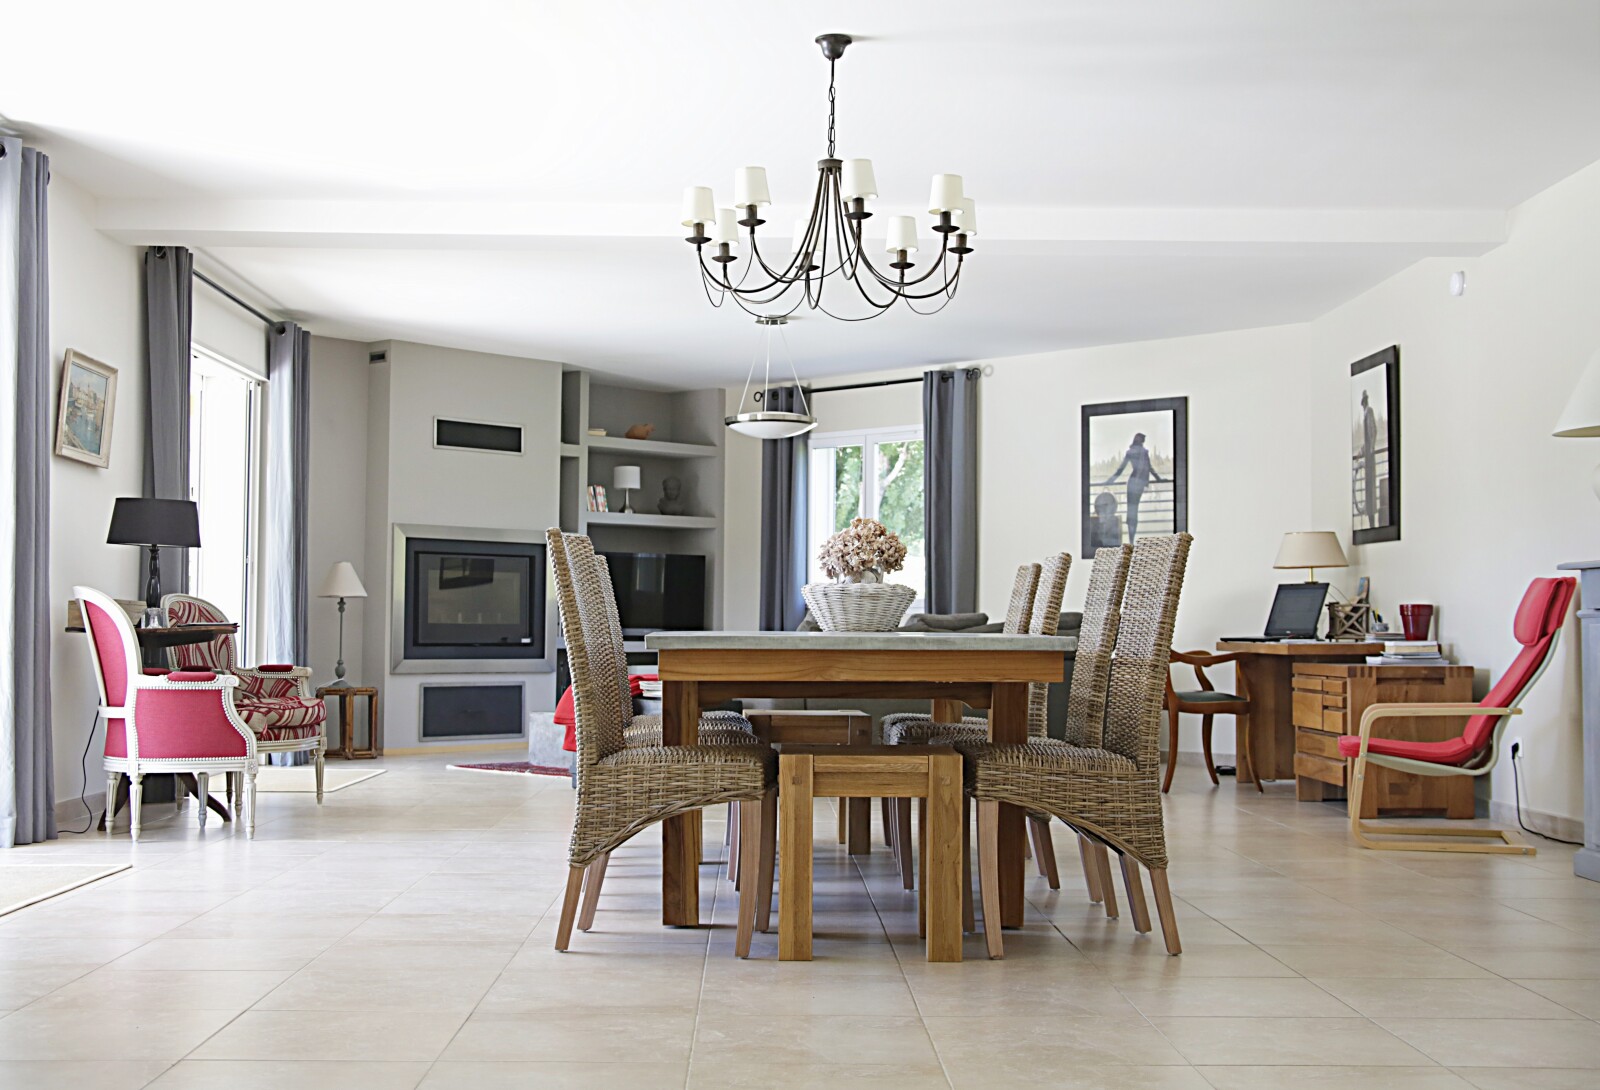
Hanging a chandelier might seem like an easy task, but if you want it to look just right, it’s actually more complicated than it seems. The wrong size fixture can crowd your dining room or make the room feel empty. And the wrong height can cause you and your friends to constantly hit your heads when leaning over for seconds of dessert! No one wants that! So if you’re in the market for a new chandelier, or just want to make sure the one you have is hung at precisely the right height, we’ve got all the answers.
When it comes to dining room chandeliers, what’s the ideal height?
Make sure you get the right size chandelier.
Now that you have a rough idea of what kind of chandelier you want, it’s time to figure out the correct size. To do this, consider your room dimensions and the factors below:
- Ceiling height. The ceiling will dictate how much space there is in between the top of your table and where your chandelier should hang. If you have high ceilings, then this distance will likely be longer than if yours are shorter. Keep in mind; however, that hanging too high might make your space feel more like an art gallery than a dining room—and who wants that?
- Table height. This is another crucial factor because it will affect both how tall or short your chandelier needs to be as well as its overall look when combined with other pieces of furniture on which guests may sit (rather than stand). For example, if everyone sits at dinner tables during dinner parties, their heads won’t block any light from coming through, but if everyone stands around chatting beforehand—or after—this could become an issue due to too much shadowing being cast on those surfaces underneath said lamps! So take these things into consideration before deciding where exactly they’ll go within each respective space…
Measure the height of your dining room.
To find the right height, you need to know the size of your dining room. Your ceiling will be higher than it would be in a living room or bedroom because there’s usually an extra layer of plasterwork on top. So measure from the floor to the ceiling and include any crown molding there.

Measure from the floor to ceiling:
- Measure from the floor, not from any windows or doors that might be above eye level. This is what we’ll call “floor-to-ceiling” (FTC).
- Get up on a chair if you need to—just make sure it’s sturdy! And don’t use one made for sitting in bed; use one made for sitting at a desk or table instead. We want you safe and comfortable while taking this measurement so take your time—and don’t let anyone distract you until it’s done!
Measure the width of your dining room.
To measure the width of your dining room, simply follow these steps:
- Use a tape measure. Whether it’s analog or digital doesn’t matter; just make sure it’s accurate.
- Measure the width of your dining room from wall to wall. The “outside” measurement is the distance between the two sides of a room as viewed from one side looking at the other side across an empty space (such as a hall).
- Measure again, this time starting at one wall and going to another without taking in-between measurements along any walls or fixtures (again, like in a hallway). This will give us our “inside” measurement—how much room there is between two other walls once we take out all those pesky doorways and windows!
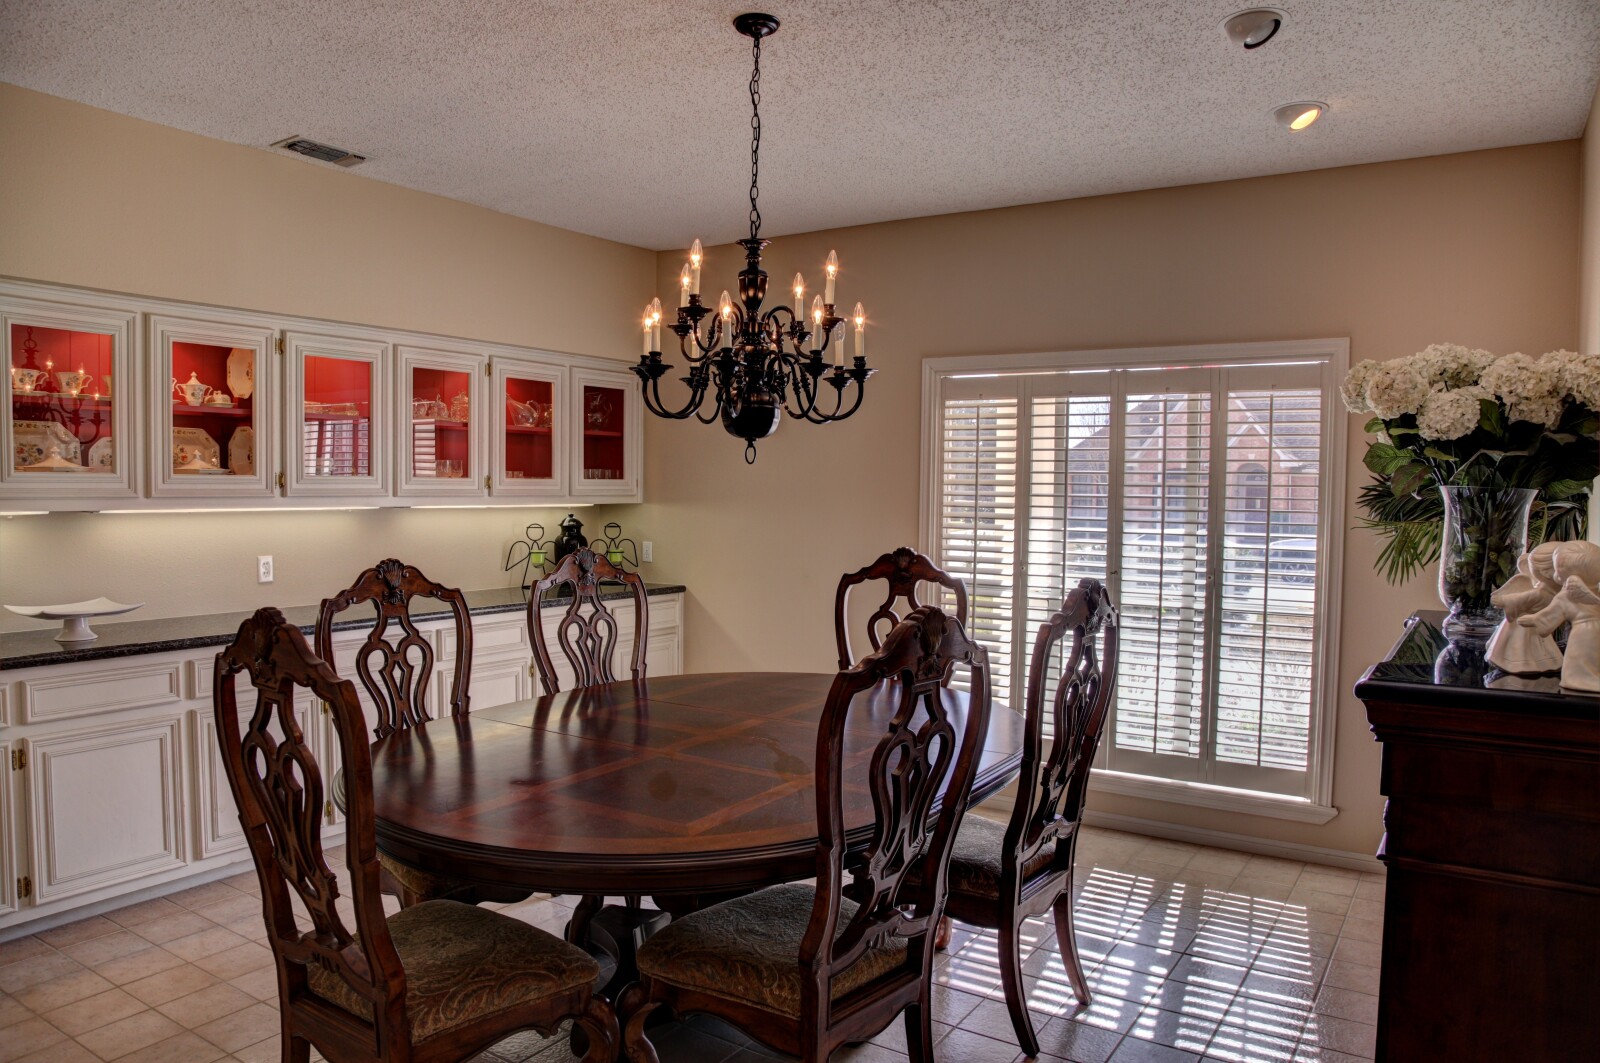
Determine how much space you want between your table and your chandelier.
The first thing to consider when selecting a chandelier is the distance between your dining room table and the ceiling. Ideally, this distance should be at least two feet, and this gives you enough room to comfortably walk around the table without bumping into a light fixture. If this isn’t possible in your space, though, don’t worry! It’s still doable if you have a smaller area in mind for your dining room.
You can also opt for an adjustable chain link that will make it easier to adjust the height of your chandelier once it has been installed on your ceiling. This option will allow you to raise or lower your fixture depending on how far away from the table its current position is working out for you (and just remember: keep some extra links handy so that when one inevitably breaks down over time—as they all eventually will—you’ll still be able to put things back together).
Decide what type of chandelier you want.
The first thing you should do is decide what type of chandelier you want. If your dining room is large and has a high ceiling, then a big chandelier will look best. On the other hand, if your dining room is small and cozy, then a smaller fixture will be better suited to its size and style.
Once you’ve decided on a general idea of what kind of chandelier looks best in your space, it’s time to start looking at price points. You’ll find that there are many different options for lighting fixtures depending on how much money you’re willing to spend: from low-end models with plastic crystals all the way up to high-end crystal pieces that cost thousands upon thousands of dollars!
Hang your new chandelier!
Once you’ve chosen the right chandelier, it’s time to hang it. There are a few things to keep in mind while doing this:
- Safety first: Whether using a ladder or hanging from a rope, make sure that you don’t injure yourself or others by keeping your footing steady and removing any objects that could fall on someone below you (like children).
- Measure twice before drilling once. It’s essential to measure the distance from the ceiling down to where you want your chandelier and then from there across to where it should be centered over the table (or whatever piece of furniture it will be hanging over). If necessary, make a mark for each measurement so when it comes time for mounting screws and bolts, everything lines up perfectly!
- It’s not just about height—it’s also about width! This one might seem obvious, but if there isn’t enough space between walls or other fixtures on either side of where your light should go, then we suggest looking into creative ways around those obstacles rather than trying something dangerous like cutting away at drywall or taking out windows (which may require permits).
When hanging a light fixture, the mantra is measured twice and cut once.
The mantra is measured twice and cut once when hanging a light fixture. You’ll want to make sure you have enough wire to reach the ceiling fan (if there is one), then again from the ceiling fan to the light switch, and then again from that point on to the power source. Once you’ve done this measurement three times (and confirmed that it’s not too long), it’s time to cut your wire so that it can be attached to the chandelier.
Conclusion
We hope that this guide has answered all of your questions about how to hang a chandelier. We know that it can be overwhelming to make sure you get everything right, but the result is worth it once it’s done! Now you’ve got a great new light fixture that will bring a whole new level of beauty into your home.


